What tranny do I have?
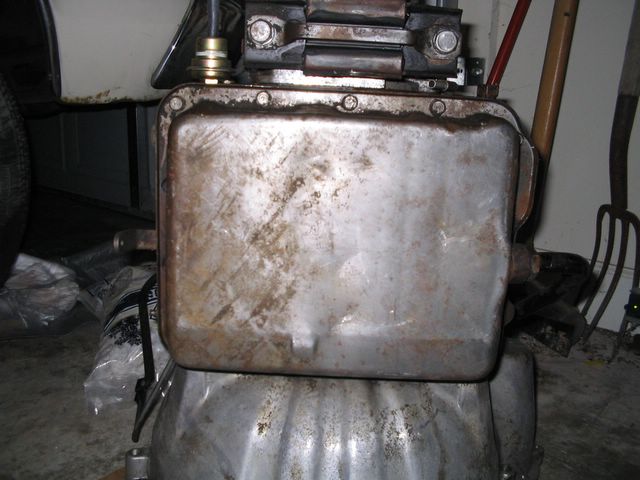
Stuart Anderson over on the Ford Transmission Forum was kind enough to post some pictures so that I could ID my tranny. From the shape of the oil pan, I'm thinking I have the 2 speed.

Picture courtesy of Stuart Anderson from the Ford Transmission Forum (see text). 

Picture courtesy of Stuart Anderson from the Ford Transmission Forum (see text).

Trans pan, passenger side.

Trans pan, driver side.

The pan.

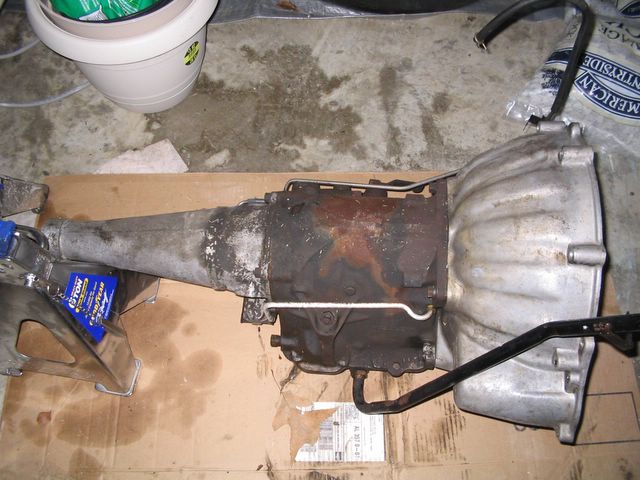
The front seal (which I believe is the culprit in the massive fluid leak).

The tranny (which leaked all over the floor). Hey, you gotta break some eggs if you want to make an omelet.
Front Transmission Seal
When I got the car, if you started it and let it warm up a little, transmission fluid would start streaming out of the front of the transmission. I had planned on having the tranny rebuilt, but I'm leaning toward cheaping out and just trying replacing the front seal. Tim went by AutoZone this week and picked up a Timken seal for a 1965 Ford Galaxie Cruise-o-matic. He was given Timken part no. 3331107N. When he got it home to his shop, he tried slipping it on the torque converter and it fit really loose. After some research on the Internet, I determined they had given him a C-4 seal, and that we actually need Timken no. 6988H, which is for FX and MX trannys.
I also discovered that it's really hard to figure out what kind of tranny you have in a 65 Ford. Apparently, there were several available and there's no place I can find on the web that tells you how to figure out which one you have. I'm posting to the Ford Transmission Forum to see if I get any good advice. I'll post a follow-up here if I do.

FPA Headers

Crites headers

Sanderson headers
Headers
Regular readers may recall that we broke one of the old cast-iron manifolds during tear-down. I want to put a set of headers on it, and have been researching those available. There seem to be three sources:
- Crites Restoration $329 http://www.critesrestoration.com/litening.htm
- FPA $399 http://www.fordpowertrain.com/opening.htm
- Sanderson Headers $285 http://www.sandersonheaders.com/
As you can see from the pictures, the FPAs and the Sandersons are both shorty headers while the Crites are full headers. The best I can tell from info gathered from
the FordFe Forum [www.fordfe.com] the Crites headers are best for racing applications. They are big, give good flow, but may hang too low for casual street applications. The shorty headers seem to be better for my uses.
eBay has some Sandersons for FE's and if you dig around the
Sanderson website enough you can find the current pricing for big block Fords. I'm leaning toward the Sandersons just due to the pricing but I will call both places.

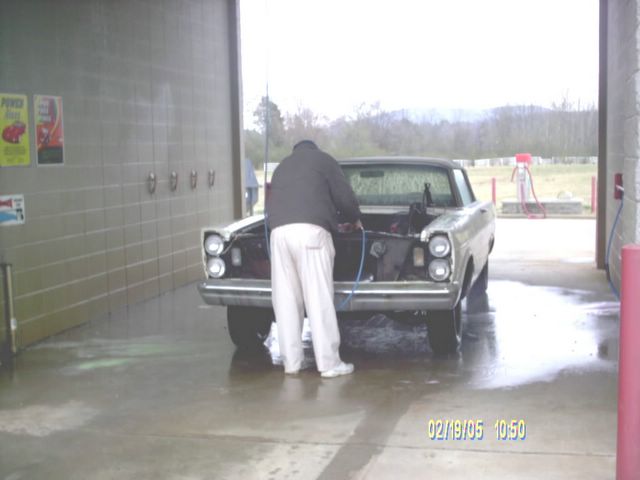
Yours Truly hosing out the engine bay in the cold. Note tow vehicle in the background.

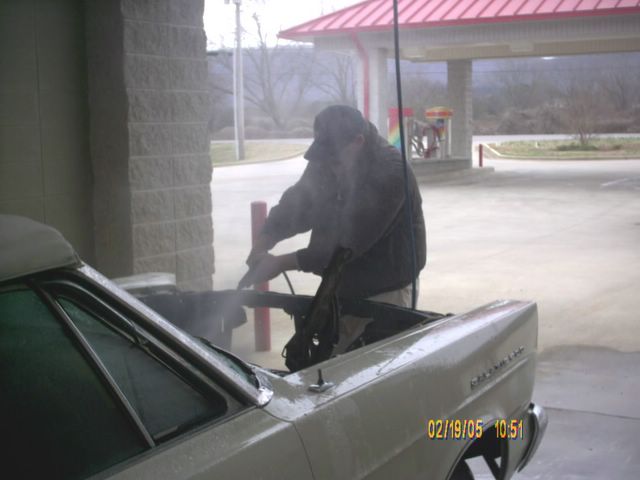
Gotta get down in all the nooks & crannies.

"Muddy vehicles use last two bays" Oops, too late now. Hey, this is grease, not mud.
Off to the Car Wash
The engine bay was corroded with 40 years of road grime and grease from the leaky oil burning 390, so we decided to tow the car to the local car wash this morning to pressure wash it. Tow vehicle was Tim's 1985 Isuzu Trooper, and I think the tow straps were about that old. We only had to tow it about 2 1/2 miles, but it's a busy 4-lane highway. The strap broke twice, once coming out of my neighborhood and once at the traffic light coming back, but otherwise the adventure was uneventful. As you can see from the photo, it doesn't look anywhere near new, but it looks much better than it did. We are going to try to get the engine bay painted within the next week or so.

Still doesn't look new, but believe me it looks a whole lot better!
Intake Install, Part II
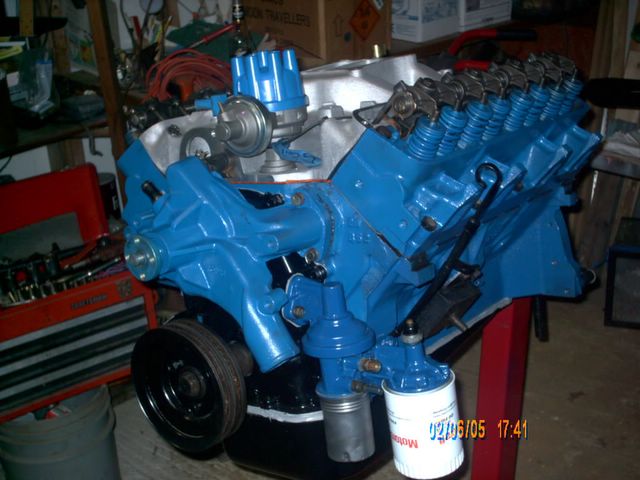
Fuel filter, oil filter, intake manifold, water pump, pushrods, rocker assemblies, and (temporarily for the photo shoot) distributor installed today. The manifold went right on, we used RTV High Temp Copper gasket former/sealer. The Edelbrock instructions say don't use cork gaskets at the front and back, instead make a bead with the RTV.
The pipe coming out of the front of the intake that connects via a rubber hose to the water pump does not come installed on the intake. It takes some mighty whacks with a small hand sledge to actually get the thing installed.
Once the intake was on, we installed the rocker assemblies. The right side was on, then afraid we missed something, we went back to the assembly book and sure enough one of the bolts is different from the other three to allow oil to pass through a passage next to one of the bolt holes. So back off the assembly came -- although the bolt was in the correct hole. You can never be too careful.
When we turned the crank, all the valves activated properly. Success!!!
Taking pictures during disassembly really helps. We didn't do a good job taking pictures and we are paying for it now.

Fuel filter, oil filter, intake manifold, water pump, rocker assemblies, and (temporarily) distributor installed.

View from the top.

Passenger side view.

View from lower front.
Intake Install, Part I
Tim had to work this morning so we didn't get much done today. We cleaned up the old carb, then started putting the intake on.
The Edelbrock instructions say that there is a dowel pin sticking up from the front intake gasket surface on the block that has to be removed (the aluminum intake doesn't have a hole drilled for it for some reason). Getting that sucker out is no mean feat. First we clamped a pair of vise grips on and tried to turn it. The dowel pin is such soft metal, the grips just cut grooves in it. Next we torched the block to expand it, hoping that would help. The pin started to turn, but bit in again. What finally worked was to clamp the vise grips vertically then take channel locks and turn the vise grips with them. The dowel pin is not threaded, but when we kept turning the vise grips counterclockwise, the pin kept easing out as if it were threaded, and a few dozen turns later it was out.
When we went to put the intake on, we realized we didn't have any Edelbrock Gaskacinch #9300. Road trip! Auto Zone carries it but after talking to one of their guys, we realized Gaskacinch is just to hold the gaskets in place while you set the intake down, and we figured we could do that with a little axle grease. While we were there, we picked up new fuel and oil filters. Then we goofed around the rest of the day taking pictures.
Incidentally, how many folks remember that Auto Zone used to be Auto Shack? I worked in the grocery biz from 1980-1990, and our distributor was Malone & Hyde warehouse out of Nashville, TN. If I remember correctly, Auto Shack was originally owned by Malone & Hyde. Then either M&H sold it or got into a copyright issue over the name and changed to Auto Zone. Just one of those little trivia things you pick up, who knows who might need to know that while searching Google 100 years from now!

Although we didn't get the intake put on today, we had to do a photo shoot. Ain't it cool?

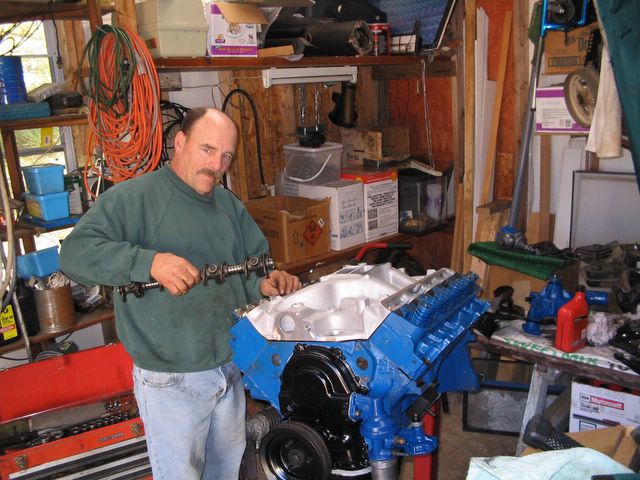
Tim putting the rocker arms on for the photo shoot.
New Intake Purchased
Went by Seco Performance in Huntsville, AL today and picked up a spankin' new Edelbrock Performer aluminum intake to replace the grungy old cast iron monster. Weight of the cast iron piece is about 86 lbs; the aluminum is about 26. This thing is gonna look sweet on that Ford blue block.

This is the new aluminum intake from Seco Performance in Huntsville, AL.

Another shot of the intake. I'm a kid in a candy store with this thing.

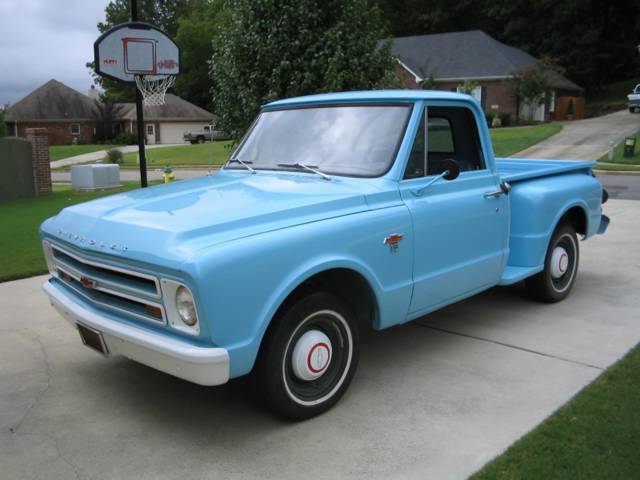
This is my buddy Tim's '67 Chevy. He's a Ford guy at heart who's helping rebuild the 390.
About the Builders
I am rebuilding this '65 Galaxie with a lot of help from Tim (no not Taylor). He has a 1967 Chevy Shortbed Stepside, all original, 283 3-speed. Tim used to build SCCA and IMSA race cars in the late 70's and early 80's. He's been written up in Dune Buggies & Hot VWs, made the cover of VW-Porsche magazine, cover of Summit Point Raceway magazine. Back in his racing heyday, he could often be found rubbing elbows with Paul Newman (yes, the Paul Newman) of Bob Sharp Racing in Connecticut. When not found turning a wrench, he is teaching the finer points of biology at one of the local high schools.
I was a butcher for 10 years in the 80's, got into computer programming in the 90's and now work for a NASA contractor designing spacecraft for NASA's Advanced Concepts office. I'm a reformed GM owner, having owned and rebuilt a '68 Chevy truck, a '69 El Camino, a '70 Chevelle SS, a '73 Chevelle SS, and a '76 Chevy Laguna street rod. I've helped friends rebuild a '51 Chevy truck, a '68 Camaro, a '69 Chevelle, and a '68 Ford truck. This is my second Ford, the other one being a '70 shortbed truck.