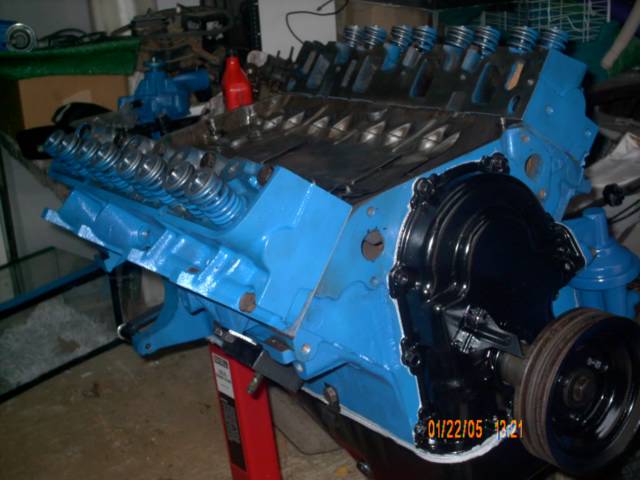
Block with heads, lifters, oil filter housing, and baffle. 
posted by Dan @ 8:08 PM
0 comments
![]()
Today we installed the fuel pump, oil filter housing, heads, lifter, and the oil baffle. The head gaskets were confusing because they were both identical, but both had the same end marked "Front". The only way they would fit the water passages correctly was if one of them was rotated 180 degrees. This meant that one of them had "Front" to the back of the motor. A call to a couple of local shops said this was OK. This also meant that the front water passage was blocked on the left side while the back water passage was blocked on the right side. Another call to the shop said this was correct to allow for proper coolant circulation through the block.
One of the lifters was sticky but loosened up when it was swapped for one in another spot.
We bent the oil baffle pretty badly removing it, but the wire brush in the drill and a little bending made it good as new.
posted by Dan @ 7:54 PM
0 comments
![]()

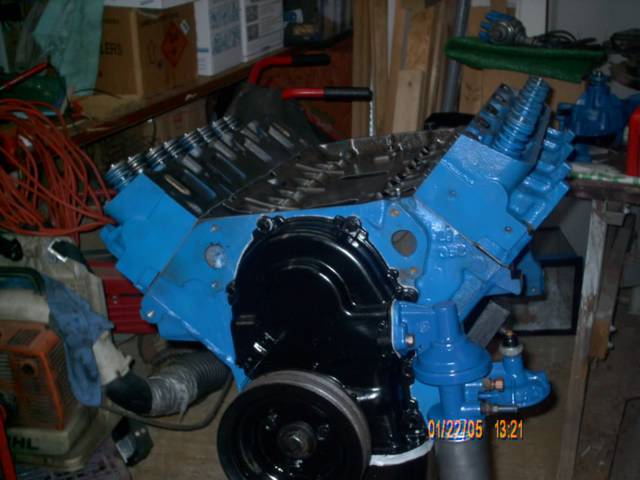
Pistons, oil pan, timing chain cover, oil filter adapter installed. We got a little overeager with the gasket cement on the oil pan.
posted by Dan @ 1:29 PM
0 comments
![]()
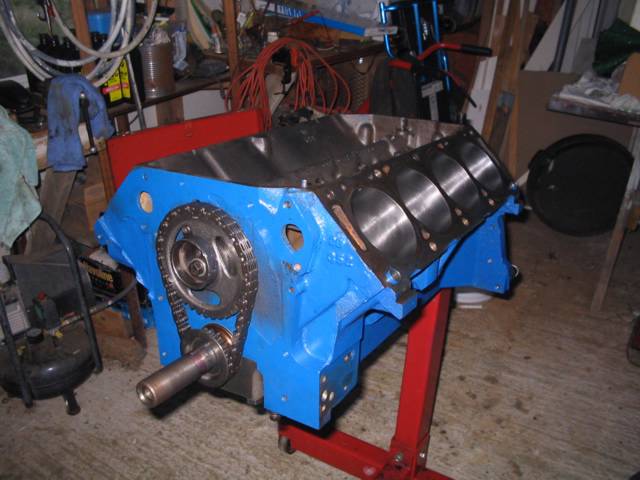
Yesterday, we got all the pistons, timing chain cover, oil pan and oil filter adapter installed. The loaner ring compressor from Auto Zone worked great. The biggest problem we had was reading piston numbers wrong and installing the #4 piston in the #1 cylinder, but we caught it right away. The motor is tight, tight, tight -- it took both of us to turn the crank once four pistons were in. The 390 is starting to look sweet, can't wait to hear it crank up.
posted by Dan @ 1:19 PM
1 comments
![]()

The interior is all original, and in remarkable shape. There are no tears or holes anywhere in the seats. This picture doesn't do it justice.
posted by Dan @ 9:41 PM
0 comments
![]()
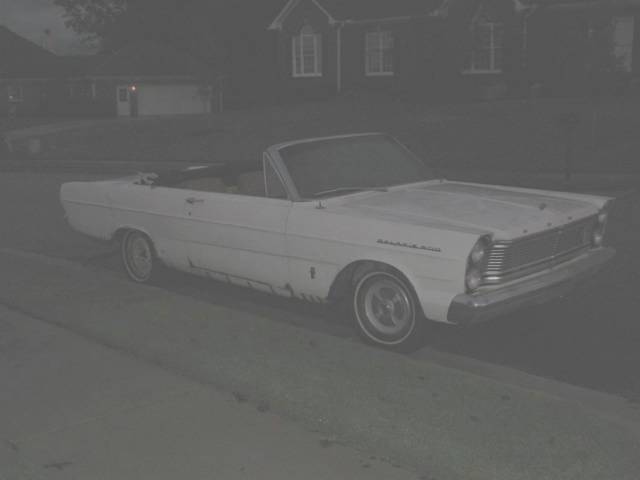
This is what it looked like when I got it, Oct 19, 2004. It was dark when I took this picture, and this is the best color enhancement could do.
posted by Dan @ 9:40 PM
0 comments
![]()

This is what it should look like when it's finished -- same colors, same hubcaps.
posted by Dan @ 9:40 PM
0 comments
![]()
We tried to install the #1 piston today. That's as far as we got, because the oil ring kept slipping out before going into the block. Trying to get it in, we cranked the ancient Craftsman ring compressor so tight, a band broke on it. From a quick call to AutoZone, we learned we can borrow a ring compressor with a $10 deposit.
posted by Dan @ 9:04 PM
0 comments
![]()
Allright, I had every intention of starting this blog project last summer when I first obtained my '65 Gal. By now, Tim & I have ripped the engine out, torn it down, sent the block off to the machine shop, got it back, and have the crank and new cam installed. I had every intention of documenting the process photographically, but that didn't happen either. What I have so far is here: a few pics of the block as it stands now. We reused the old crank, which was eccentric at most +/- 0.010" according to the shop, General Automotive of Huntsville, AL. The cam is brand new and stock; I don't want a convertible that shakes the ground at idle. The rear seal was a bear to get installed; I'm still not sure we got one of the side seals in right. Also, we discovered that it's NOT a good idea to wash the block in hot soapy water like the book recommends. What a pain that was to get all the water out of it! Anyway, here's what it looks like now, maybe it won't be all rusty by the next time we get to work on it. Don't you love Early Ford Blue!
posted by Dan @ 9:00 PM
0 comments
![]()